
A customer's guide to working with web designer
Let's get started:
The following are the main points that we will be covering today.
- Guidance & direction
- What to expect
- What you need to own
- What you will need to have & provide
- Communication – how & when
For the purpose of this document, we are assuming that you have gone through the process of selecting a designer / firm. You have already agreed to having a site designed for you, a contract / agreement has been signed – the cost has already been agreed and you have an idea of time frame from your selected designer. Now the process of the site design begins.
Let’s get started!
Step 1. Guidance & direction
Your web designer should have all the understanding and experience needed to get the job done, however they are not mind readers. It is important that you effectively communicate your wants and requirements with your designer at this stage.
Some points to consider:
Provide a visual idea of what you might be looking for
~ Send sample sites that you like
~ Send notes on the things that you DO NOT LIKE, this is important. It let’s the designer know what not to do for you.
~ Point the designer to your competitors
~ Identify elements or functionality that you would like on your site. eg.
Slider(I are not a fan of these as research shows they are somewhat ineffective!);
Call to action Section (draws attention to important information that can be linked to from your home page);
Testimonials; a quick action Form; News & or Blog Posts, etc. This is necessary because it can affect timelines and cost in some circumstances.
~ If you are looking for inspiration, here are a few great starting points:
~~ siiimple.com
~~ awwwards.com
~~ webdesign-inspiration.com
~~ Alternatively, use a search engine [google.com, duckduckgo.com (if you want some privacy) or Bing.com]
Branding – Logo and Colors
~ Generally, web designers will theme your website based on your Corporate Branding (your Logo if you don’t have specific branding or a branding guidelines)
~ Send A SAMPLE OF YOUR LOGO to the web designer. The format is not important just yet, any copy you can send via email is fine.
~ Provide a color scheme as best as you can. Websites are build using HEX color scheme, so if you can, use the HEX value of your colors. This is more precise than a sample image or random color like “Blue, black ar Red”
~ Example – “Blue – Air Superiority Blue” Hex color = #66A4C0 (https://coolors.co/66a4c0)
Use something like https://coolors.co find the palette you like or build your own. Use the explore Tab and type in your PRIMARY colour here.
Responsive Design
Responsive design refers to the creation of a design that can be responsive to the various screen sizes it is being viewed on.
~ All websites are designed for Desktop Computers, Tablet Devices and Mobile Devices today.
~ Many Web Designers design for Desktop first (unless otherwise stated) then all other breakpoint thereafter. BUT, a better practise is to focus on Mobile First as more users are viewing websites on mobile devices than desktops in this day and age. However, when a site design is supplied to you for review, you should check with your designer to confirm what platform/device it should be reviewed on first.
An important point to make here. You may have a good idea of what you might want your site to look like, but please understand, web designers have a lot more to take into consideration than just your initial design concept. Fitting the design into multiple screen sizes; the sites interactivity; download speeds; usability; site optimization; user experience (UX) and lots LOTS more. Having content at the start is great as the designer (Content First approach) can use this to provide a more realistic sense of your own data, but, in reviewing the designs your content itself is not as important as the overall design at this stage.
Site navigation
~ Your designers need a good starting for this, it does not need to be finalized but your best idea of what this might be. If a main links / title is subdivided into small chunks of data, what will these be?
Eg. Services, then under Services might be a list of the actual Services – ie. Services (Grass cutting; Tree Felling; Weeding; Planting etc.)
Each subpage could be a Page of it’s own (provided it has enough content to full a page), this might require Services to be a Drop Down List in the navigation as an example.
Step 2. What to expect
Once you have signed, you have made a partnership. You now both need to be on the same page in order to be successful. Your web designer is (should be) a professional and he or she truly knows what is required to get the job done.
But do you?
If in doubt, ask!
If you are not sure about the process or anything really – ASK! Ask your designer to guide you through the process if you need it, ask them to explain any terminology if required (designers have a bad habit of using web term too often – html, hex colors, SEO, content…).
The general process is as follows (but not always the same for every designer):
1. The customer provides as much guidance to the designer so that the designer can get a full understanding of their needs, then the designer can start on the customers site design.
2. The designer will create (one or sometimes more) custom website design mockups. This can be in the form of a graphic, a wireframe or a high res interactive website mockup (like I do).
3. It is now the customers job to review the design, and provide feedback.
Some things to consider here:
~ This is a Design Review, it is not important at this stage to look at titles, link or text spellings etc. Review the overall look, feel and the message the site provides visually!
~ As stated earlier, if the design is in an interactive format and supplied via a web link – REVIEW ON A DESKTOP Computer, not Mobile nor a Tablet!!
~ Review the overall layout of the design
~ Review the different Sections of content in the design, are they what you wanted? Did you think of something different or perhaps you forgot to mention say – Testimonials..
~ Colours, are they want you agreed? Do they work for what you want? Will your Target Audience like it? It is very important to cater to your target audience, as they will use the site way more that you will.
~ Emphasis – every website should emphasis the main topic of content, your Service, your Product / Product Category.. does it do that?
~ Site Content – try and be objective here, the actual content is not important at this point but the way in which the content is being presented is. Title sizes & colors – do they stand out and are they easy to read? Are the paragraphs well sized? Is the font to your liking and is it all legible?
~ Actual Content – an additional content note: you may see content that you can not read, something like “Lorem ipsum dolor sit amet, consectetur adipiscing elit..”. This is classified as dummy text, placeholder text, filler text better known as lorem ipsum.
This is simply used to illustrate the text areas of your site in the absence of the real content. The only thing that you can comment on when you see this is – does it take up the correct amount of space in the website? Is it easy on the eyes. Will your LIVE text be more of less (number of words or paragraphs) than what has been used in the mockup? Is it legible? Are you ok with the font used? Those kinds of things.
~ Content Illustrated – below you will see three graphics, they all relate to two paragraphs of text. The important point here is that what might look like a lot of text to you when you are typing up your content may not be a lot of text when transported to a web page.
Illustration #1
The same text in a Word Document in portrait (13 lines of text)
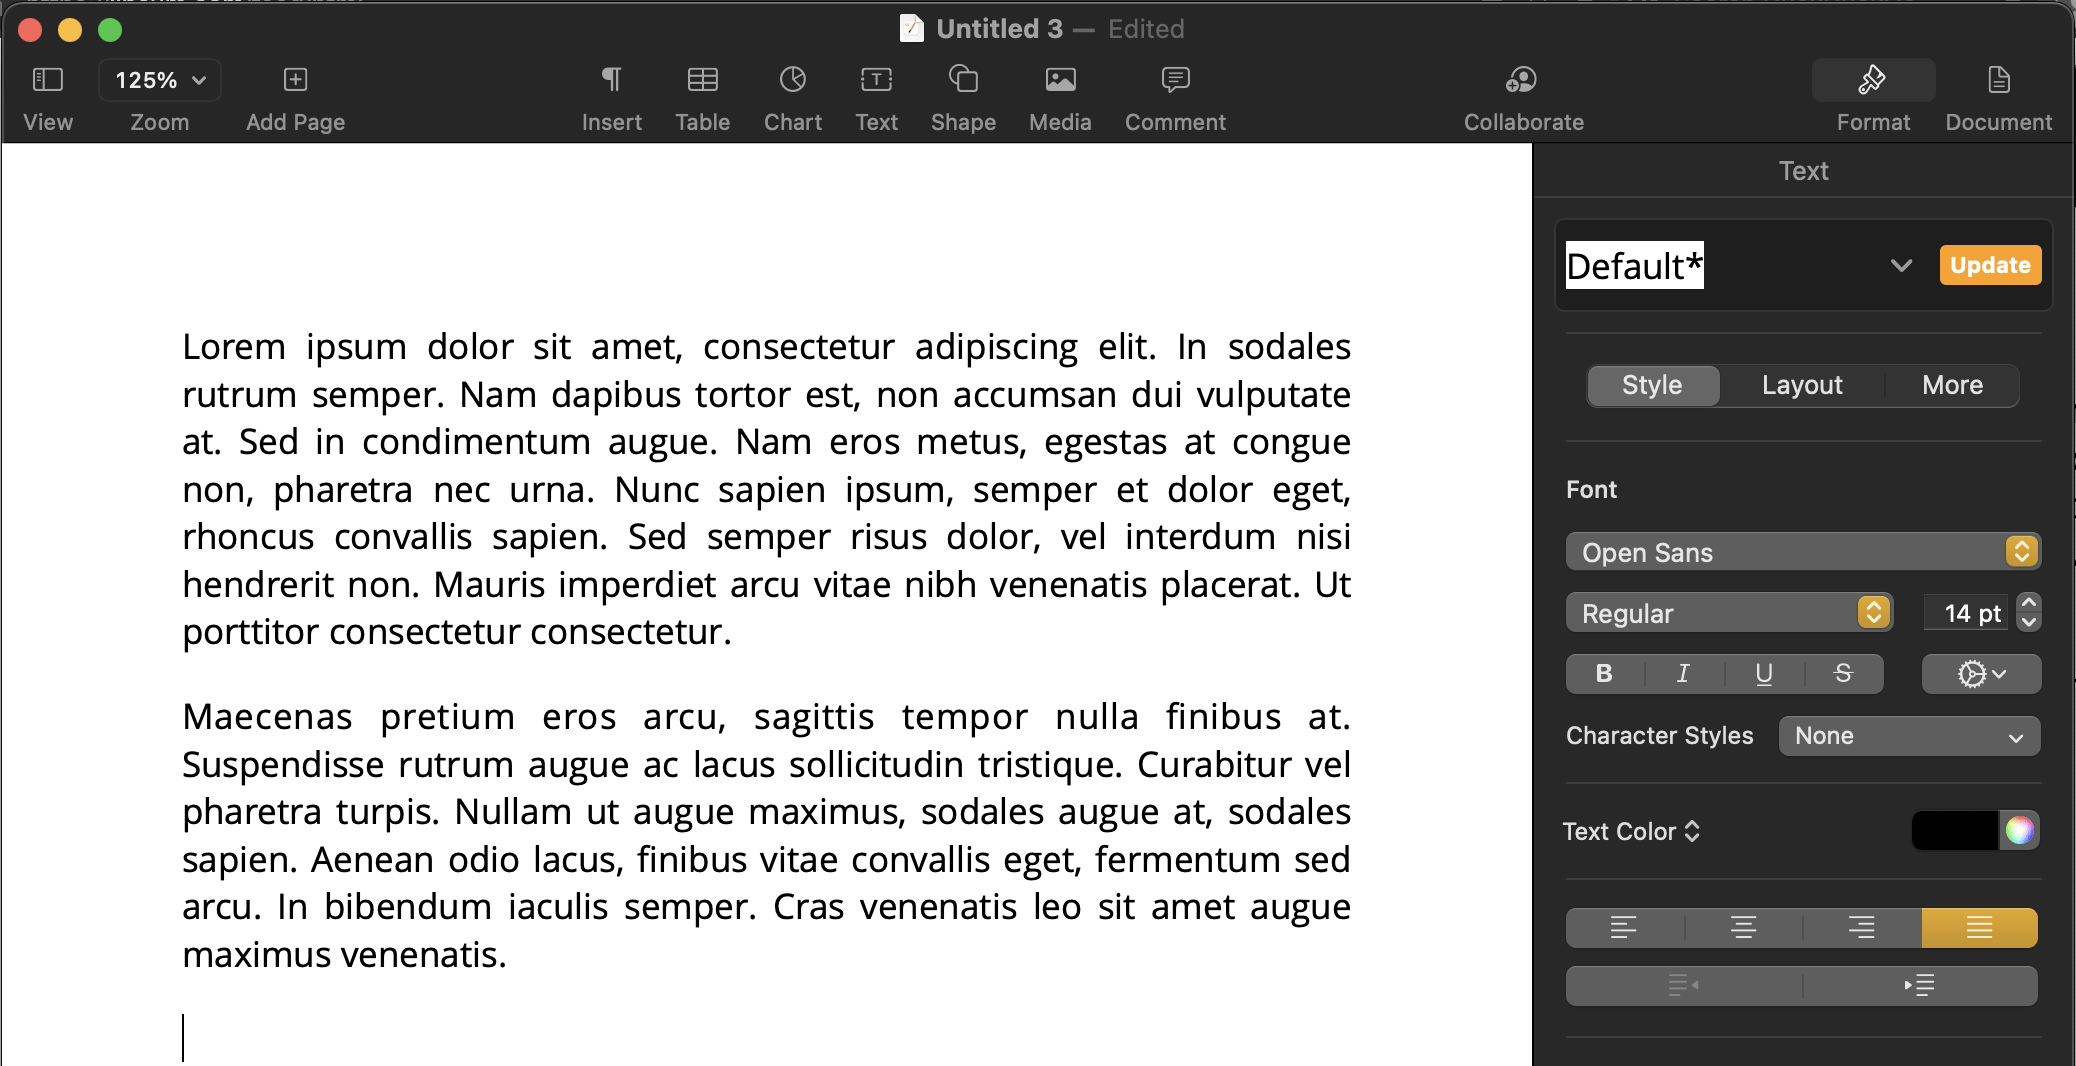
Illustration #2
Same Text in a Word Document in landscape (9 lines of text).
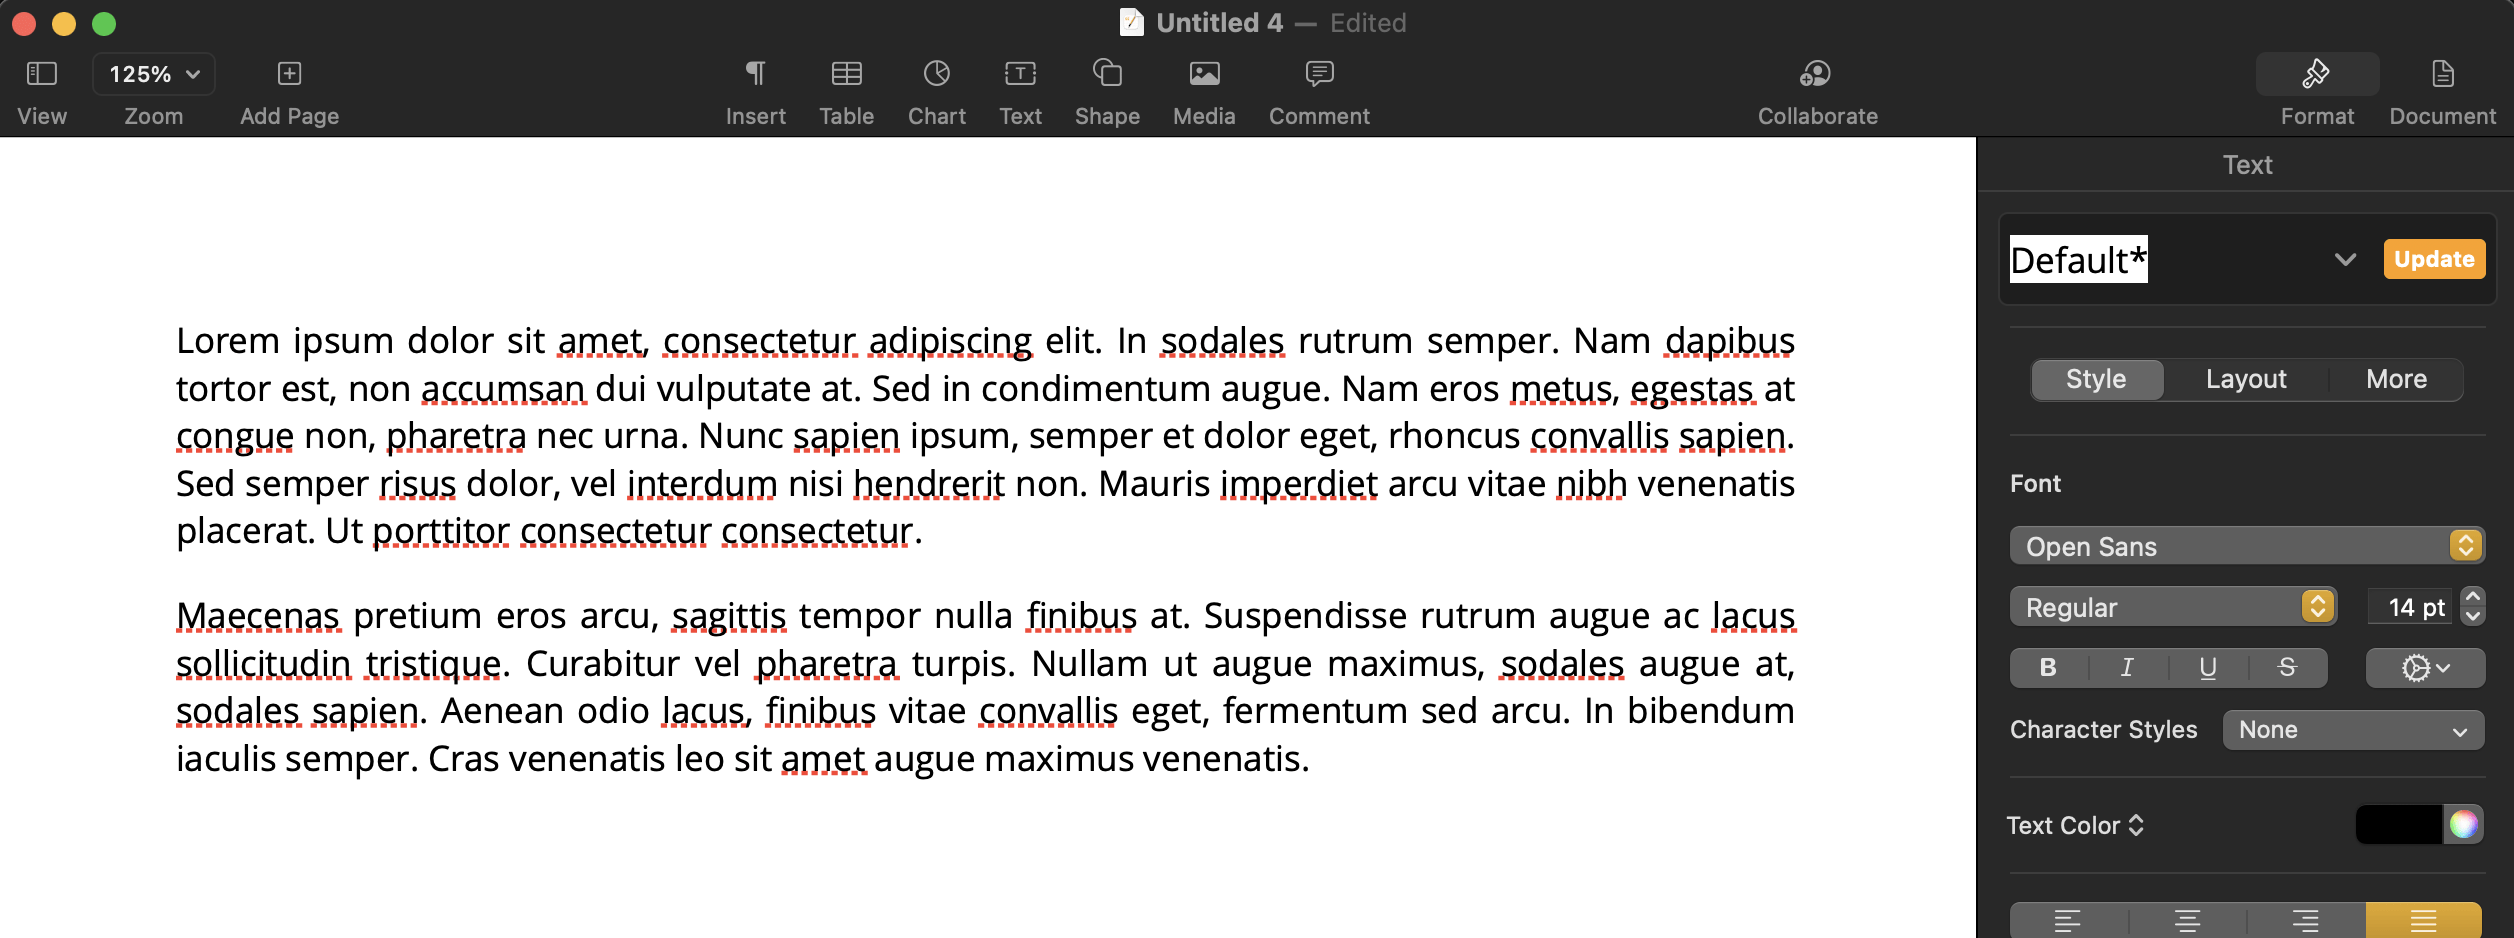
Illustration #3
Same text in a webpage at an average of 1280 pixels on screen (average screen resolution) (5 lines of text)

Note what started off like a lot of text ended up only being a few lines on the website.. However, it is recommended to keep your text paragraphs at a max width of around 700 pixels - like the with being used on this website.
4. Usually only the home page design is supplied for your review (unless otherwise agreed). If all is well and approved, the designer will then move on to the internal pages of your site design. Depending on the navigation of your site, you may have many uniquely designed internal pages or just a few. If much of the site is simple text content then one design would be supplied for all content pages.
Only if the page content requires a unique layout structure will the designer supply a layout for this page – eg. Services and Blogs may be Listing pages (this will list a number of items inside of these pages), and separately a Details page (this will be a single page design that would be used on all listed items from the Listing Page). The design for each could be the same, similar or completely different depending on your requirements.
~ the very same process of review would be required. Review each page’s layout and content sections to ensure that you are happy with all of it. Colors and sizes should have already been set for the first review.
Once the review process is done, the web designer will either start the Development aspect of the site converting it all to proper responsive HTML web pages (this may also be a handover to a developer or development team).
Another important point to make here. All approvals at this stage are FINAL and will conclude the design part of your proposal. If any changes are make at a later date, these will be construed as a NEW CLIENT REQUEST and this will more than likely be additional cost to you the customer. So, please TAKE THIS STAGE SERIOUSLY and do your part so that there is no confusion or additional fee required at a later date.
Moving right along..
Step 3. What you need to own
This one is easy. The main things everyone needs to have a website in place are:
~ A Domain Name – this is the website address you will be using publicly, eg. www.yourcompany.com
~ A Hosting Account – a location where the website files can be placed for online access
and finally,
~ Content – more on that in the next section
Step 4. What you will need to have / provide
All of your sites Content!
Your Site Information (referred to in part as your Content, but in this case the Text for your website).
~ Introduction text
~ All textural information on all the Pages of the site (about, services, testimonials, product descriptions etc.)
Finally, your Supporting Content – this is everything else required for your site to be completed. In this instance we are referring to –
~ Images / pictures (these need to be copy written to you OR you MUST have permission to use commercially – NO a google search for images is NOT acceptable or usable in this case.); however, commercially useable stock photography could be acceptable here. This is usually where we start! eg. pexels.com
~ Graphics (artwork, sketches, infographics etc. check out - undraw.co as an example);
~ Documents (.doc files, PDF files, .pages, .excel etc. in most cases PDF is your best bet);
~ Videos (we recommend you have your own Youtube account for these);
~ Articles / Blogs / News element;
~ and any other form of media you were planning on adding..
Step 5. Communication – how & when
Communication is obviously an important aspect of the partnership, ensuring that we are on the same page is vital. Communication is needed throughout the process but most important:
~ At the start and during the Initial Design Stage &
~ and two, just before to Launch. Everything will need to be right, tested and content fully checked before it goes live.
Your webmaster should have done their part, but you still need to confirm that. After you have gone through the site with a fine toothed comb, looking at every page one by one. After you have read through all the page content and checked EVERYTHING is to your liking.
Some things to look out for and check:
- Check that the content is correct and up to date
- Check content spelling, punctuation
- Check that the images are yours and you have permission to use them
- Links – your designer should check these but you also need to do the same (we are human and can make mistakes) – click ALL links on the site making sure they go to the correct location, make sure that there is an indicator that a link is indeed a link
- Forms, this is one that is often overlooked, when the site is being built we direct all forms to ourselves but at this stage they need to be directed to YOU. Check that the forms record what they need to, check that the form is to your liking and that the form submission is received in your inbox. This is the only area where the test may need to be done after launch!
We are now complete!
Well, are we?
For the launch yes, but as I stated previously mistakes are often make so we still have time to make fine tuning adjustments. After all, this is the first time you are really looking at the site and more importantly, your customer / viewers are looking at your site. They may notice a thing or two. So let your designer know and they should be happy to make final adjustments as needed (provided that these edits are adjustment to what was agreed and not new additions or functionality – new additions will incur a cost).
Last but not least, ongoing maintenance and updates. Depending on the type of website that you had build would depend on how the site is maintained. A static site will require your webmaster to make the edits on your behalf, however, if you have a CMS (a content management system) then you will be able to make the majority of updates that may be required. Training is usually given to show you have this is done.
Good luck with your new site! 🤘
Note – it is possible that I missed a thing or two so I will revisit this post and edit as needed if mistakes were made. If you have any questions, feel free to reach out to me.